
Do you feel that process of installing WordPress on AWS is too complicated and you are going to hire someone or ask a friend to do that for you?
The answer is NO. It's quite simple! Everything you need is AWS account to host WordPress on AWS and ServerFactory. ServerFactory is a super server management tool that helps you to focus on your business, but not a server and technical stuff.
I will provide you with steps on how to install fresh WordPress on EC2 instance and secure it with SSL.
Step 1: Register ServerFactory account
To register ServerFactory, go to the registration page and fill in all required fields. After registration is completed, you will receive a confirmation email. When registration is completed you can access your server management interface here.
Step 2: Create an AWS IAM user
I will not cover a section on how to create the AWS account. I assume you have already registered it and know how to access the AWS console. But if you miss something you can check the official documentation here.
First of all, you need to get an IAM user and credentials to connect ServerFactory with your AWS account.
Go to IAM page -> Add user.
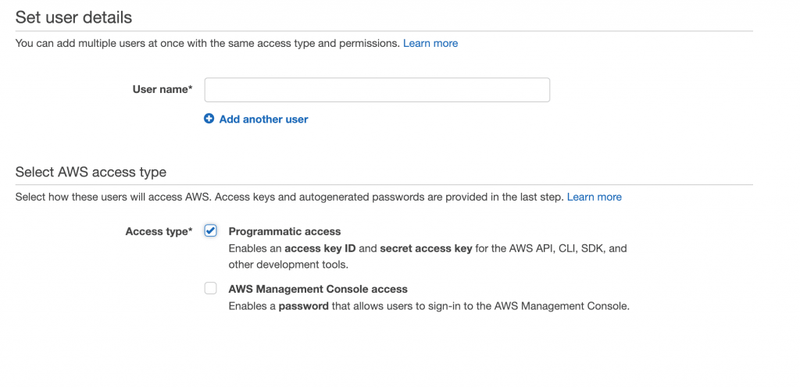
Select desired User name and set Access type to "Programmatic access" which gives ServerFactory permissions to spin up EC2 instances for your account and install Wordpress on AWS EC2 instance.
Click on Next: Permissions
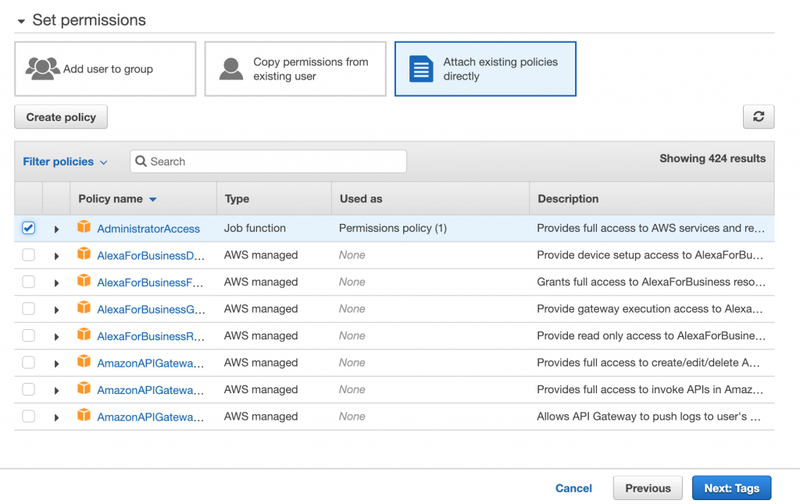
Select "Attach existing policies directly" and choose "AdministratorAccess" policy.
Now you are ready to move to the next step which you can skip as it is optional. Finally, you can press the "Create user" button.
Important: On the final screen, you will see credentials that you should save for future usage. I recommend you to save CSV file with a correspondent button.
Step 3: Connect AWS account with ServerFactory
Go to providers add and select AWS. Give a name for the new account and paste credentials from the CSV file.
Step 4: Spin up an EC2 instance for WordPress
Go to servers and create a new EC2 instance for your WordPress installation.
It will take several minutes to install a web server, database server, and all of the packages for WordPress and monitoring.
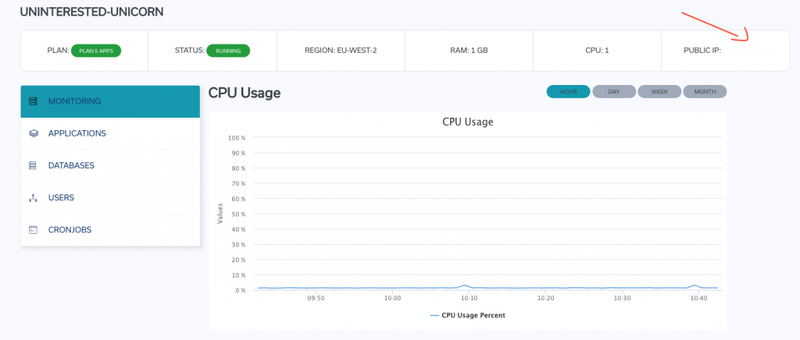
After installation of the EC2 instance is done, go to the server dashboard to get your public IP. You can do that from the main dashboard
Step 5: Install WordPress on your Amazon AWS EC2 instance
Important: Before installation of the Wordpress to your AWS EC2 instance make sure that your Domain points to your instance's public IP. This is mandatory for the SSL certificate.
To start a fresh installation of WordPress, go to the application menu and select WordPress. Now you should see the "Create Application" menu. Fill in all required fields, toggle SSL switch and press the "Create Application" button. It takes less than a minute to deploy WordPress on your AWS instance.
Important: Do not forget credentials of your WP admin user.
Conclusion
It takes about 10 minutes to install WordPress on AWS even if you are not a technical guy. ServerFactory panel makes your life easier and you should not waste time finding a system admin to deploy your site to Amazon Web Services.
Docker commands and Dockerfile usage for running containers on a local machine
Docker commands and Dockerfile usage for running containers on a local machine

Netflix tech stack for powering streaming backend and cloud solutions